Insight
How to Create a Business Facebook Page
Creating a Facebook business page will help you bring in more customers and serve them better. Here’s how to do it.
A Facebook business page is probably a good asset for you for four reasons.
Facebook has a ton of daily active users
People intentionally go to Facebook to ask friends (and strangers) for recommendations
Facebook profiles and business pages tend to rank high in Google search results
Customers often turn to Facebook (and other social media sites) for customer service
That means creating a business Facebook page could help you bring in more customers and make more money—here’s how to do it.
3 Steps to Create a Facebook Business Page
1. Log into or create a personal Facebook profile.
Already have a personal Facebook profile? Great!
Don’t have a personal Facebook profile? You’ll have to create a Facebook profile in order to create a Business page, but we’ll show you how to make it private.
You can also follow these steps if you want to create a new Facebook profile using a business email address.
Sign up with your business email address, and a few other details, at facebook.com
Go to Settings & Privacy > Settings > Privacy
Edit each setting so that it’s viewable to “Only Me”
And you’re good!
2. Create your business page.
To create a business Facebook page:
Log into your personal profile
Select Menu > Pages
Click “Create New Page”
Fill out your info
Click the “Create Page” button to save and publish
You now have a Facebook business page—congratulations!
You can also add any other employees who you may want to help you manage this page. To do so, go to your business page, click Settings, find Page Roles, and then add accordingly.
3. Verify that you’re a legitimate business (maybe).
Verifying your business is not a required step for most Facebook business pages, but it is necessary if you’re going to work deeply with Meta for advertising or developer products. View the full list of features that require verification.
To verify your business Facebook page:
Go to the Facebook Business Security Center
Select the business you want to verify
Click “Start Verification”
Confirm your info
Upload your documents, like articles of incorporation, business registration, or a utility bill—here’s the full list of accepted documents
Get a code via phone, text, or email
Enter that code as prompted
Wait a bit—it can take up to 14 days to get approval
And that’s it, you should be good to go.
How to Manage Multiple Facebook Business Pages
Each Facebook page that you want to manage will need to be individually created using the steps above. From there, you’ll need to create a Meta Business Manager account in order to toggle between multiple business pages from the same account while keeping your personal profile private.
Note: Meta is the parent company who owns Facebook, Instagram, Threads, WhatsApp, the Messenger app, and others. A Meta Business Manager account will also allow you to create and manage some of these profiles.
How to Create a Meta Business Account
First you’ll create a Meta Business Manager, and then you can start adding and creating business profiles underneath that. Meta’s platform can be confusing to navigate, but the steps to create a Meta Business account and add pages to it are simple.
Go to business.facebook.com/overview to begin creating your account.
Enter your info, and create
Go to Settings > Accounts > Pages > Add a page
Enter the name or URL for the page you want to add, and click Add
Repeat as necessary for additional pages
How (and Why) to Gather Facebook Recommendations
Facebook’s term for reviews is “recommendations.” Essentially, customers can give you a thumbs up or a thumbs down on your business profile, and leave a comment about their experience working with you. These are important for any business, because:
Potential customers base their decisions on others’ recommendations
These recommendations show up in Google search results
The number and the star rating of your recommendations affect where you rank in search results
The more good recommendations you get, the more customers you’ll earn (with less effort!)
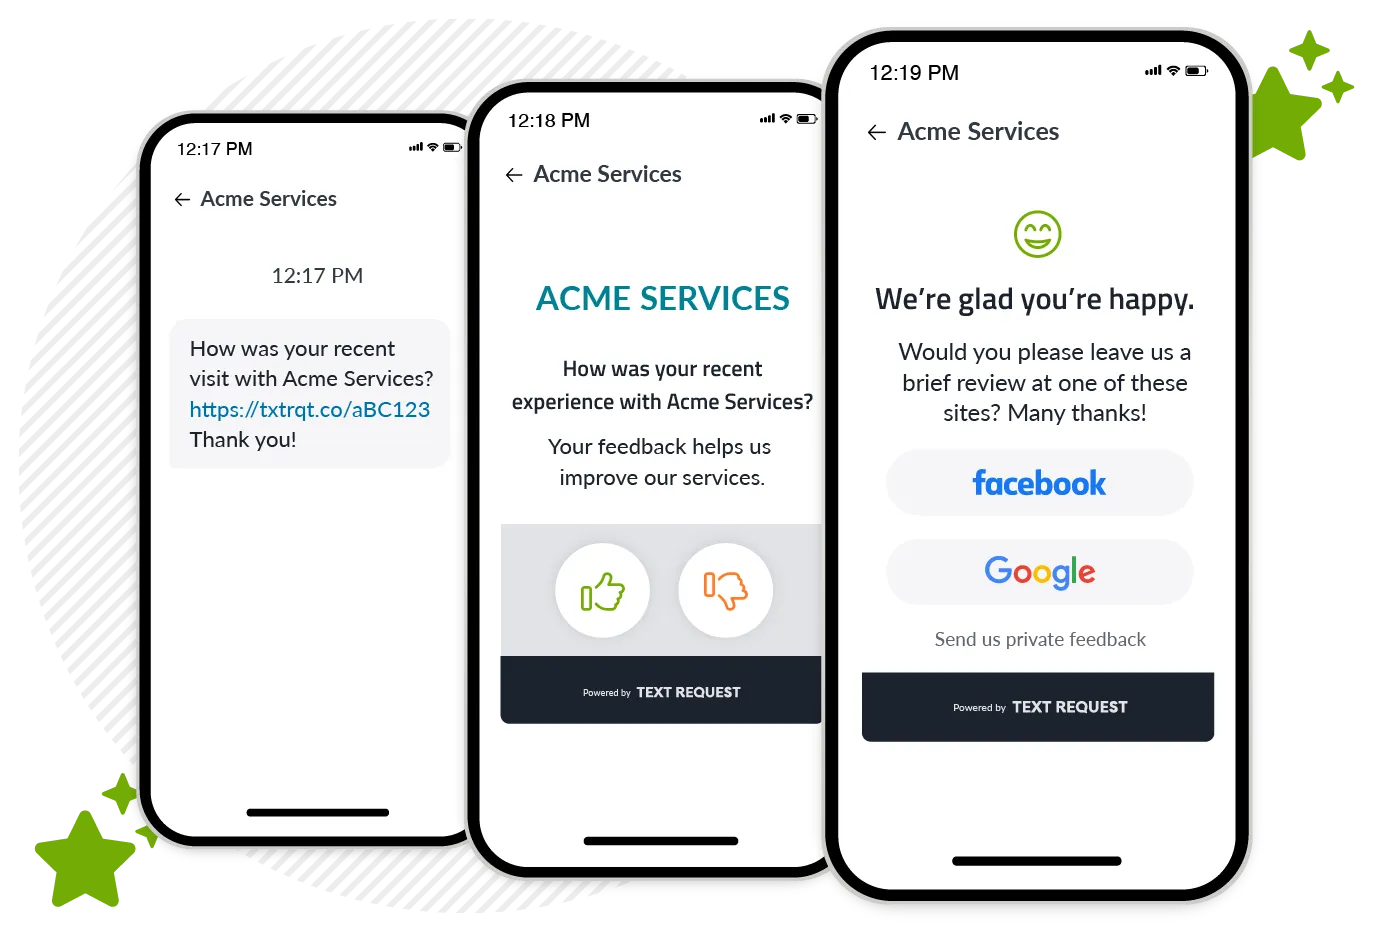
Text Request has a Reviews platform that connects your Facebook business page(s) so you can earn more of these recommendations and win more customers.
How to Connect Your Business Facebook Page to Text Request
With Text Request Reviews, you can ask customers for Facebook recommendations through text message, respond to feedback directly from Text Request, manage multiple pages (as needed), and track every interaction.
You also get the other perks of business texting, which will help you get more customer responses and fewer headaches. If you don’t have a Text Request account yet, you can sign up here or contact us with any questions.
To add Reviews to your Text Request account:
Log into Text Request
Visit the Account menu
Click “Manage plan and add-ons”
Select the plan you’re currently on
Under “Available to add,” select Reviews, and click Update Your Plan
To connect your Facebook business page to Text Request:
Go to the Reviews tab of your Text Request account
Click the Settings tab
Select “Connected Platforms”
Click to add Facebook page
Log into your Facebook account
Select the page you wish to connect and grant permission
Now you’re set!
For more details on using Reviews, view our product user guides and our complete guide to getting 5-star reviews.


